

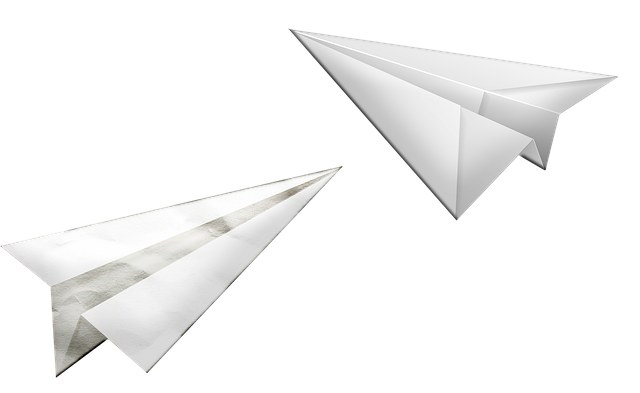
This time of year is the perfect time to get the kids doing things that they don’t do throughout the year. This includes building water balloon launchers, DIY catapults, and of course creating the fastest paper airplanes. We love when the kids start creating projects like these because they make for some of the best STEM activities for kids.
So often as a mom we are constantly being asked by our kids for things to do, so of course paper airplanes are always a great idea. And with so many different designs and ways to fly it they never get bored creating them. But what if kids don’t know how to build a paper airplane? Good thing we are teaching kids these simple steps on how to make a paper airplane.
Supplies
There are not many supplies you need when it comes to building a paper airplane. You will want to use:
- 8 ½ x 11 inch piece of paper (preferably with no holes)
- Tape to help it stay in place
- Two hands
- A little bit of patience.
The Most Simple Paper Airplane Design
- First you will start by folding your paper airplane in half the long way. Be sure to make a nice crease down the center of the airplane.
- Next you will unfold it.
- Then take one of the corners and fold it into the middle of the paper. You want to make sure the edge lines up with the middle crease.
- Repeat this same process with the other side. This will create a triangle at the top of your airplane.
- You will now want to take the folded edge and fold it in again to the center of the airplane. Have this line up in the crease.
- Repeat this same step on the other side.
- At this point you will take your airplane and fold it in half on the original crease down the middle. The airplane will basically be on its side.
- Next it is time to create the wing. You want to do this by folding the flap down in half.
- You will want to do this for both sides of the airplane.
- Once the wings are folded down it is a good idea to take a small piece of tape and tape the flap together on the top.
- Once this is done, you are ready to fly your airplane!
High Speed Airplane
This airplane is a little more difficult to make, but still a lot of fun to design. When creating this airplane it makes thin long wings perfect for soaring quickly through the sky.
- First you will want to fold your airplane in half long ways.
- Then you will unfold it leaving the middle crease.
- Next, fold the top of your airplane down to inches. Make a nice crease in the paper and unfold.
- You will then take this same section and fold it and then fold it again to hit that crease mark that you just made. Crease it and then unfold it.
- You will now take that section and fold it 4 times to make a really thick edge.
- Take the corner of one of the edges and fold it to the middle of the airplane.
- Repeat this same process with the other side.
- Fold the airplane on the center line.
- Fold each of the sides down which creates a set of wings.
Expert Airplane Design Skills
This airplane will take a little bit more skill to create and a lot of patience, but the results are well worth it. This is one of the best performing airplanes that I have created with the kids.
- You will first want to fold your paper in half long ways and make a crease and then unfold it.
- Next, you will take your corner of one of the sides and fold it into the center line.
- Repeat this same step with the other corner. The key is to make sure that these folds are symmetrical to one another. Your paper should form a triangle at the top of the page.
- Take your triangle and then fold it down. Your paper will actually look like the flap of an envelope.
- Take one of the corners and fold it in so that only the corner touches the creased line in the middle of the plane.
- You will then repeat this same step on the other side. Be sure to make these as symmetrical as possible. Once you are happy with the way it looks then you will crease the sides tightly. You should see a triangle poking out the bottom underneath your folded pieces.
- After you crease the sides, you will want to fold up the triangles. I always like taping these so they stay down.
- Flip your airplane over so you are only seeing the middle crease.
- Once flipped over, fold on the crease to expose the underneath. Be sure your triangle is still folded.
- It is time to make the wings. To do this, you will hold it on the center crease and make a crease about a half inch to an inch from the fold. Create a solid crease.
- You will want to do this same thing on the other side. Be sure to make sure that they are symmetrical so that it flies straight.
- Next, you will fold up the tips of the wings. You will make a solid crease ½ inch of the bottom of the wing.
You are ready to now fly your airplane! If you find your airplane wobbling or flying crooked you will want to make sure that your folds are symmetrical to one another. You might also want to try folding more or less of the wings with your current folds. Minor details like this can make a huge difference in the flying.
What is your favorite airplane design? Share in the comments!
Ready for more fun posts? Check these out!
Be a Good Friend: Teaching Your Kids How to Socialize
5 Cool DIY Water Balloon Launcher Ideas